Getting Started With Polybrush
First time using Polybrush? Start here for an overview of the essentials.
If you've encountered a bug or other technical issue, please post on the official Support Forum. We respond very quickly, and the community benefits as well.
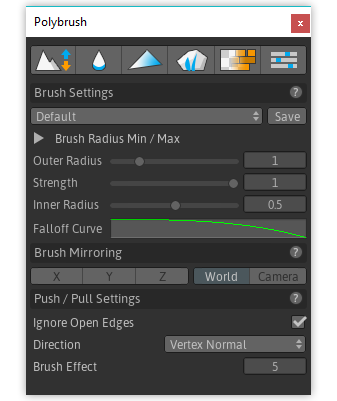
1) Open the Polybrush Window
From the Unity menu bar, choose Tools > Polybrush > Polybrush Window. This opens the Polybrush Window, which you will use for 99% of Polybrush functionality.
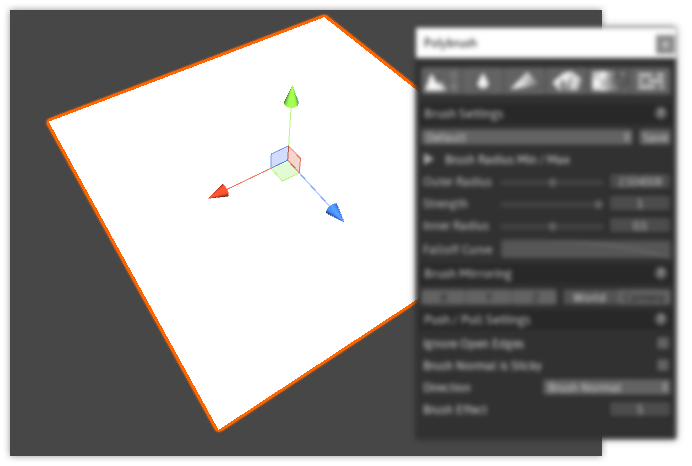
2) Choose a Mesh to Edit
Polybrush will automatically work on any mesh, but for now we'll use a Unity primitive mesh.
To create a Plane primitive, in the Unity menu bar choose Game Object > 3D Object > Plane
You can also use ProBuilder meshes for an even more powerful workflow!
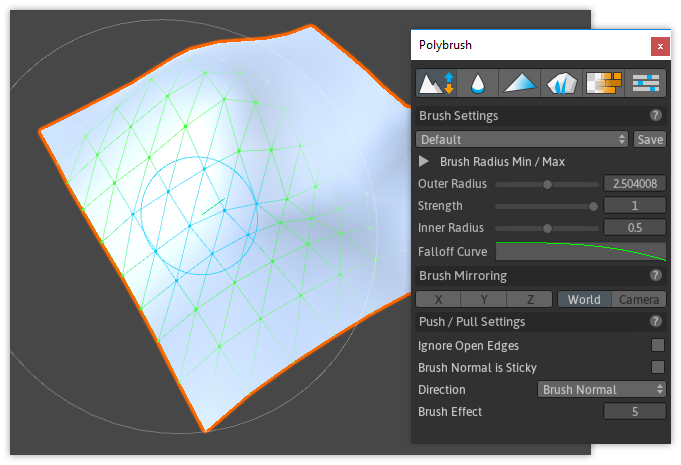
3) Sculpt Your Mesh
Let's make this mesh look more interesting!
- Activate Sculpt Mode by clicking it's icon (
 ) in the Mode Toolbar.
 - Hover your mouse over the Plane, and
Left Clickto "pull",Shift Left Clickto "push" geometry. - To smooth out hard edges, activate Smoothing Mode (
 ) and brush the mesh with
 Left Click.
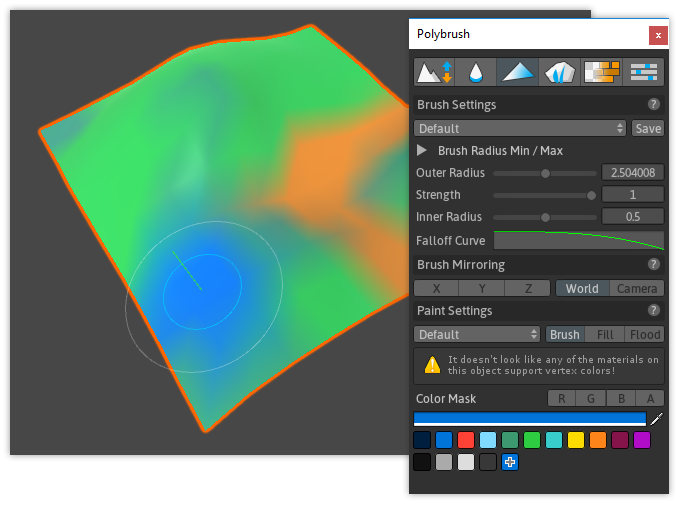
4) Paint Pretty Colors
Danger, Danger! The default Unity material won't show Vertex Coloring, so let's create a new material that will:
- In your Project Panel, right-click and choose
Create > Material, then give it a really cool name - With the new material selected, look at the top of the Inspector Panel- see that drop-down labeled "Shader"? Click it, and choose
Polybrush > Standard Vertex Color - Apply this material to the mesh you'd like to paint
Hey custom shader people! You can use any shader, as long as it supports vertex colors
Now we're ready to paint vertex colors:
- Activate Color Painting Mode by clicking it's icon (
 ) in the Mode Toolbar.
 - Click to select a color from the Color Palette buttons at the bottom of the Polybrush Panel.
- Hover your mouse over the Plane, and
Left Clickto paint,Shift Left Clickto erase.
5) Blend Fancy Textures
Texture Blending requires a special shader- you can create your own, or use ours:
- In your Project Panel, right-click and choose
Create > Material. - With the new material selected, look at the top of the Inspector Panel- see that drop-down labeled "Shader"? Click it, and choose
Polybrush > Standard Texture Blend. - Apply this material to the mesh you'd like to paint.
Prefer your custom shader? You can use any shader with Polybrush - see Writing Texture Blend Shaders for more information.
We can now paint and blend textures on the mesh:
- Activate Texture Blending Mode by clicking it's icon (
 ) in the Mode Toolbar.
 - Click on a texture in the bottom of the Polybrush Panel to select it.
- Hover your mouse over the Plane, and
Left Clickto paint,Shift Left Clickto erase the selected texture.

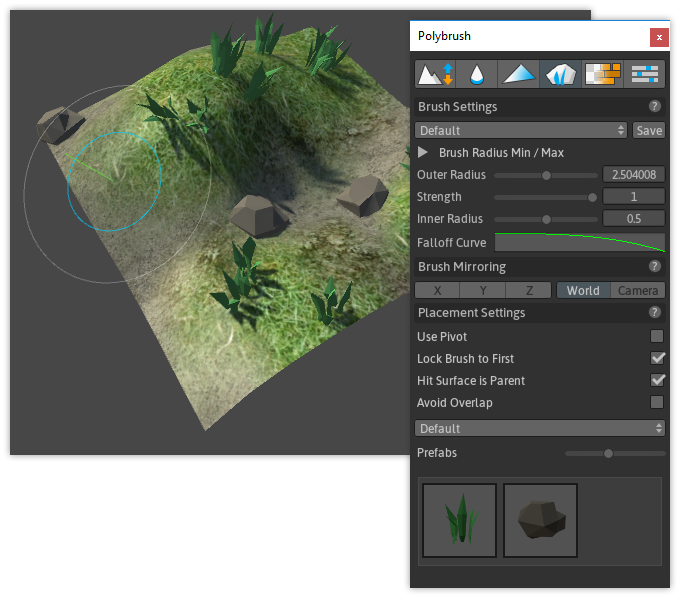
5) Place Detail Meshes
- Activate Mesh Placement Mode by clicking it's icon (
 ) in the Mode Toolbar.
 - Click on a Prefab in the bottom of the Polybrush Panel to select it.
- Hover your mouse over the Plane, and
Left Clickto paint,Shift Left Clickto erase the selected texture.
Congratulations, you've learned the essentials of Polybrush!